MAKE YOUR OWN MOSAIC GARDEN BIRD
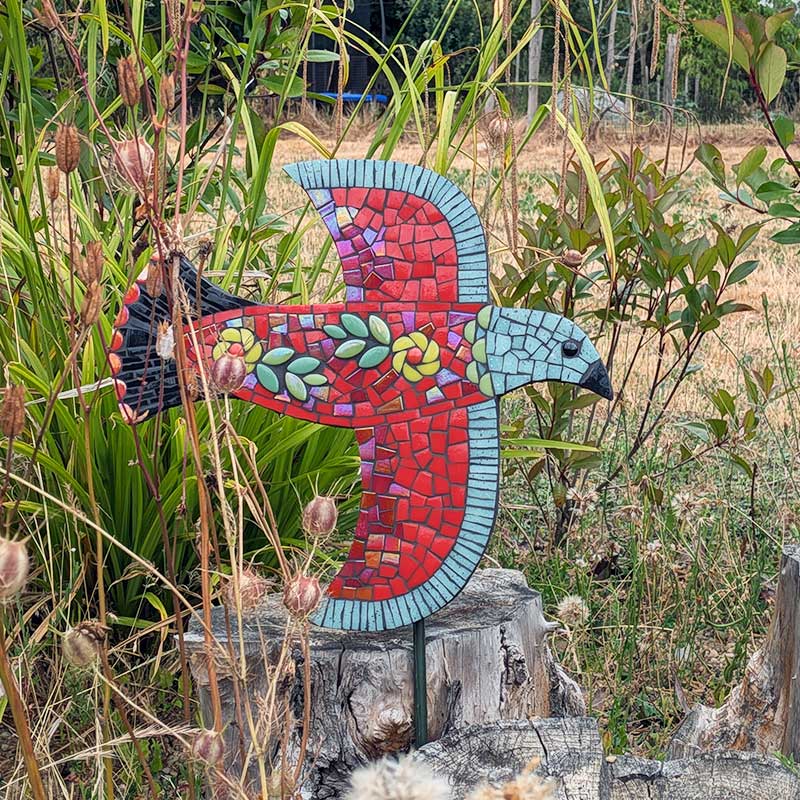
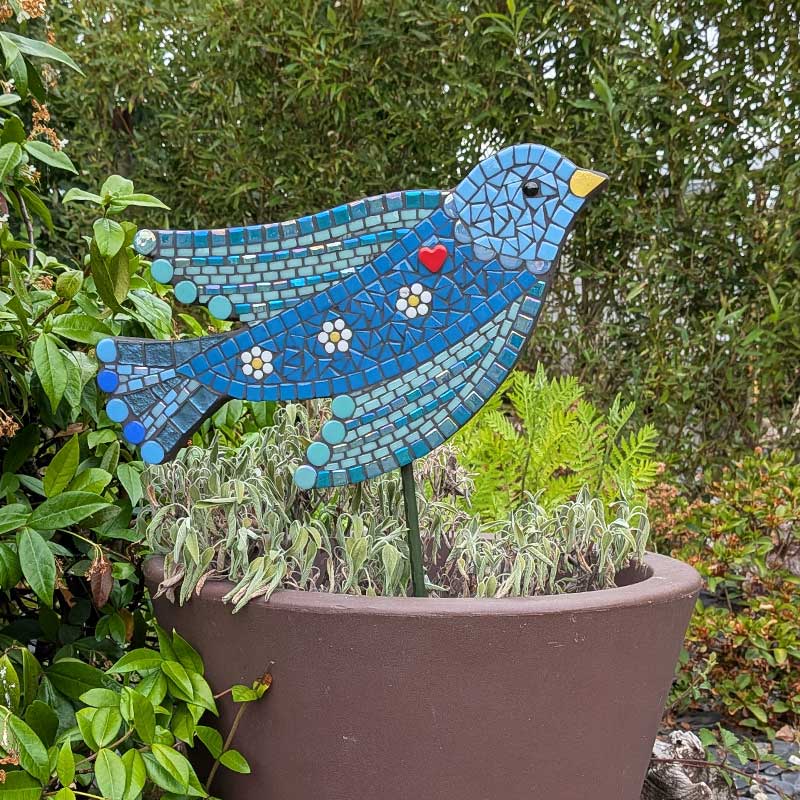
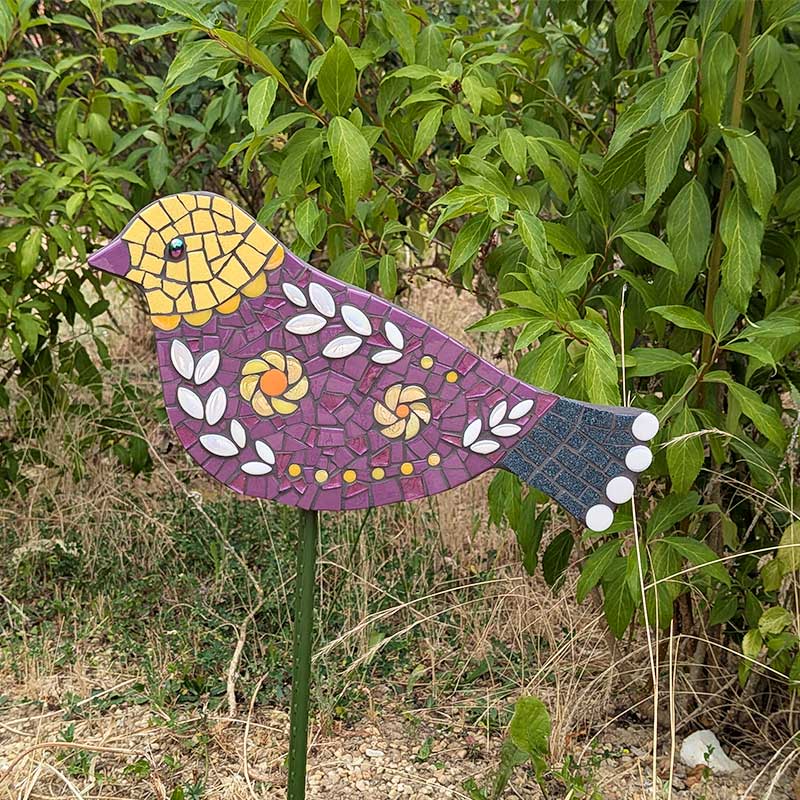
l'll show you step-by-step how to turn glass tiles into a beautiful, durable garden bird — even if you've never made an outdoor mosaic before.
👉 3 bird PDF templates
👉 Clear step-by-step videos
👉 Lifetime Access
50€
(£42, 57USD, 80CAD, 82AUD)
Start today • Learn at your own pace • Access from anywhere in the world
Create a Beautiful Mosaic Garden Bird You'll Be Proud to Display
Imagine walking into your garden and spotting a colourful mosaic bird you've made with your own hands.
In this step-by-step self-study course, I'll show you exactly how to create a durable outdoor mosaic bird that will brighten your garden for years to come.
Whether you're new to outdoor mosaic or simply looking for a relaxing project, I'll guide you through every stage—from preparing the board to grouting your finished bird.
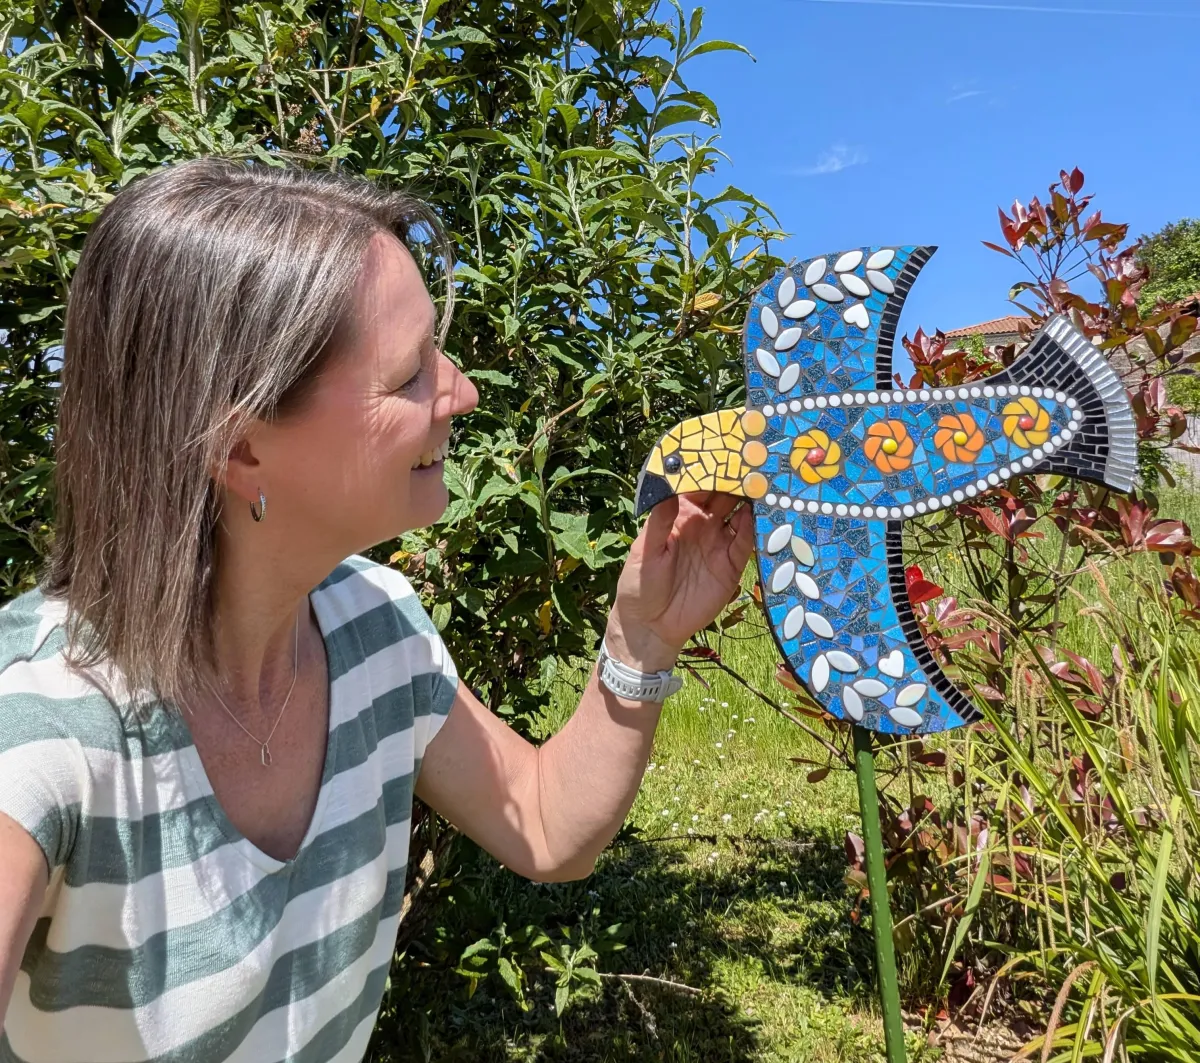
Every Bird Tells a Different Story
One of my favourite things about teaching mosaic is that no two birds ever turn out the same.
Some students choose bright tropical colours.
Others prefer soft natural tones.
Some add tiny details...
Others keep things beautifully simple.
You'll start with one of three bird design templates, then cut and prepare the substrate, making it completely your own using the colours and tiles you love.
The result?
A bird that's uniquely yours.
More Than Just a Mosaic Project
This isn't about making something to put on a shelf.
It's about creating something that brings a smile every time you walk into your garden.
You'll slow down, enjoy working with your hands, learn new skills, and finish with a piece you'll be genuinely proud to say...
"I made that."
And because I'll teach you the correct outdoor techniques, your bird is designed to stay outside and be enjoyed for years.
What You'll Learn
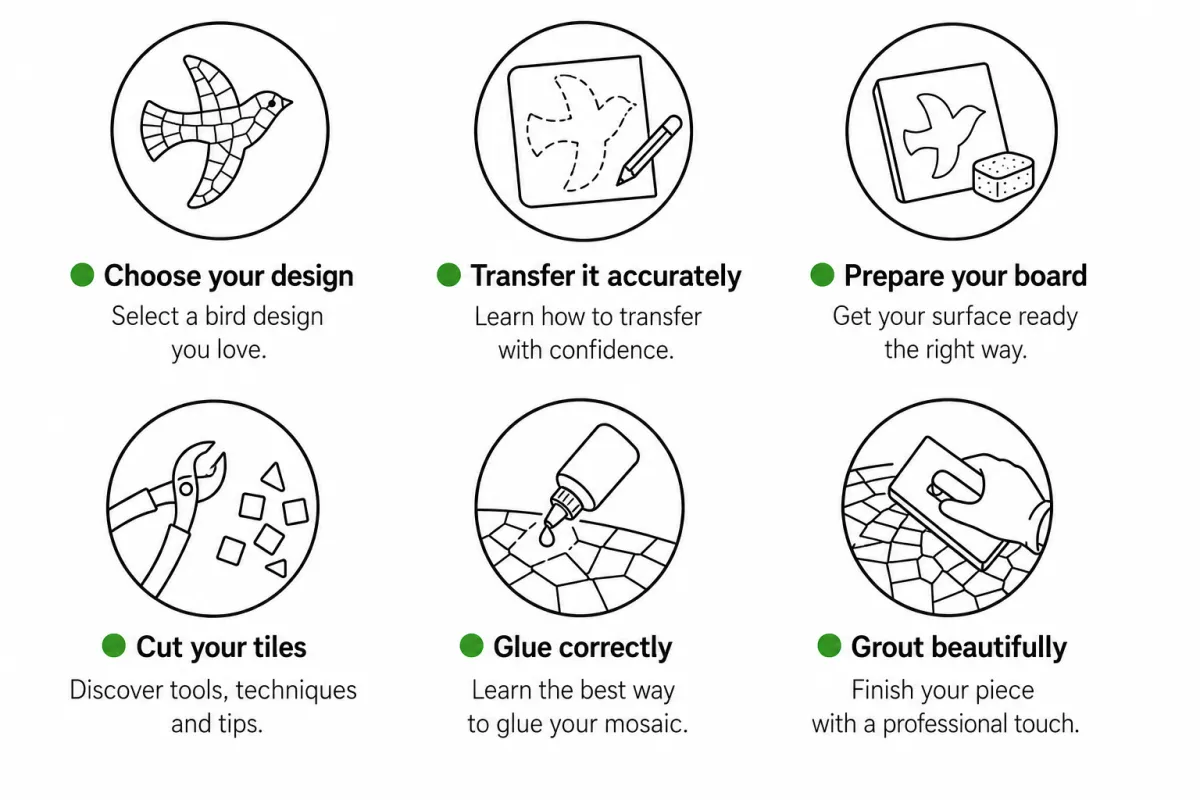
Everything Included
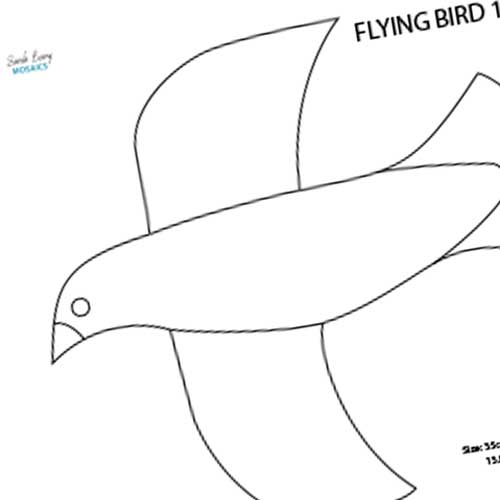
PDF BIRD TEMPLATES
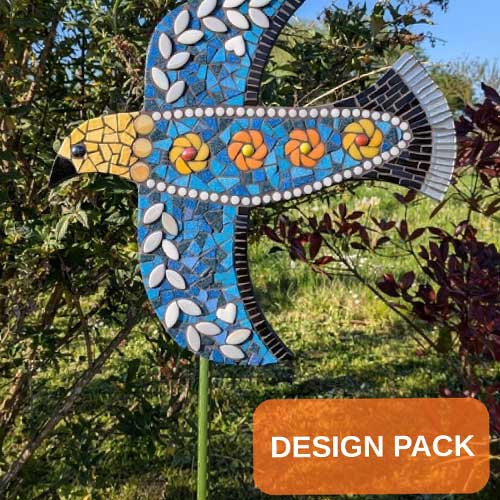
12 COLOUR GUIDES
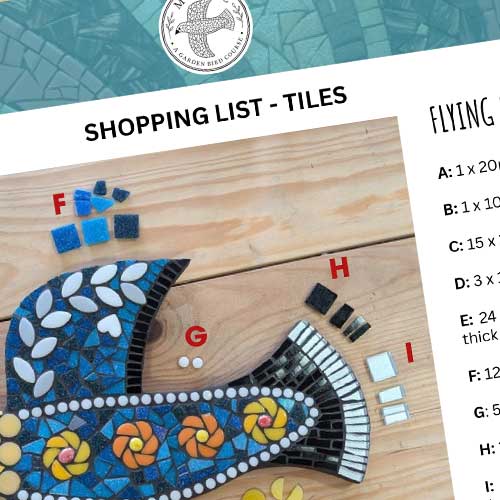
SHOPPING LISTS
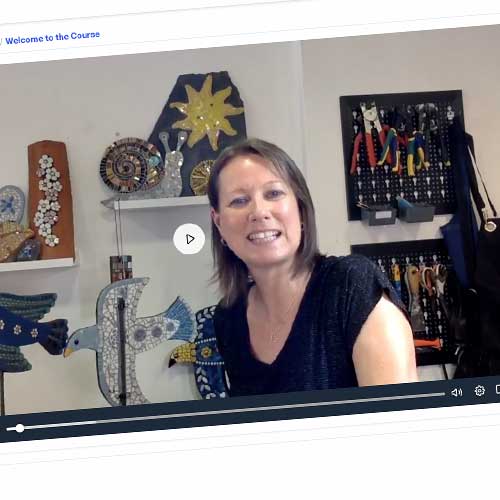
50 QUALITY VIDEO TUTORIALS
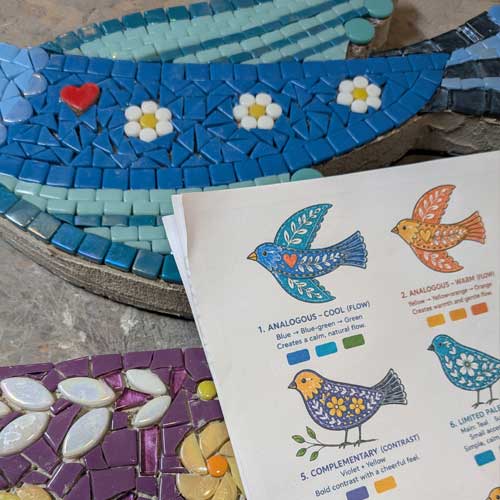
DESIGN LAYOUT SHEETS
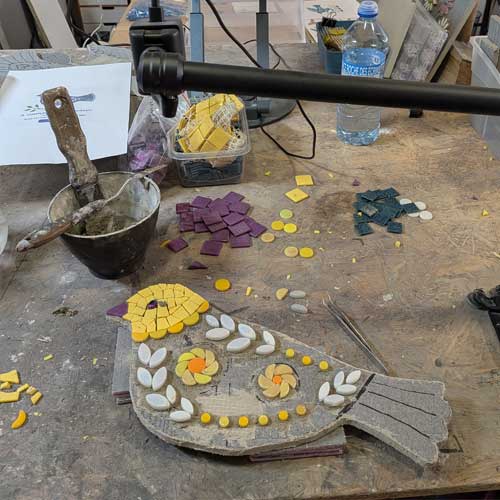
WATCH ME WORK TUTORIALS
FAQs
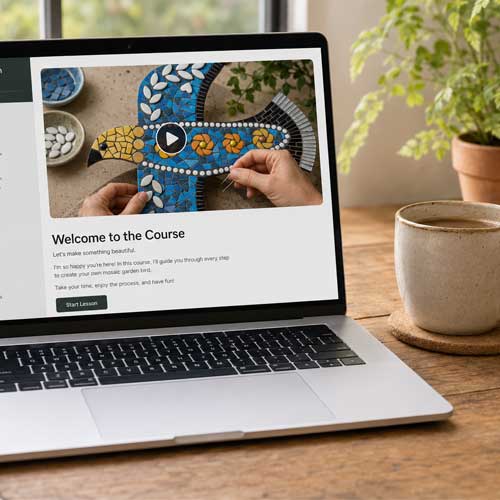
LIFETIME ACCESS
Meet Sarah
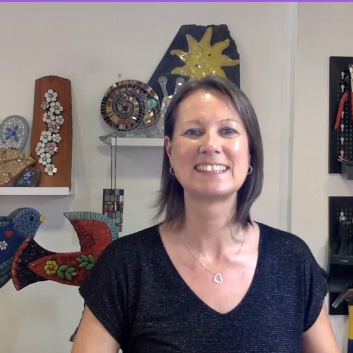
I believe anyone can create a beautiful outdoor mosaic with the right guidance—no artistic background or previous experience required.
I've had the privilege of teaching hundreds of students from around the world, and one thing never changes: no two mosaics are ever the same. Give everyone the same bird design, and each person creates something completely unique. That's one of the things I love most about mosaic.
My passion is helping beginners build confidence while learning techniques that create mosaics made to live outdoors for years to come. Rather than simply showing you what to do, I'll explain why each step matters, helping you avoid the common mistakes that can lead to cracked grout, loose tiles or weather damage.
Watching someone place those first few tiles, discover their own creativity, and proudly finish a mosaic they never thought they could make is the best part of my job. I can't wait to help you create a garden bird that's unmistakably yours.
5* Student feedback...
(taken from recent courses)
★★★★★
“You have a way of teaching that makes everything feel approachable and enjoyable. I never felt overwhelmed, just supported.” — Sarah
★★★★★
“The instructions were so clear and easy to follow. You explain things in a way that just makes sense.” — Helen
★★★★★
“I feel so much more confident now. I honestly didn’t think I could create something like this before.” — Julie
★★★★★
“I loved your calm, friendly teaching style. It made the whole experience feel relaxed and encouraging.” — Emma
★★★★★
“I’m so happy with what I created — I didn’t expect it to turn out this well at all.” — Claire
A sneaky peek inside the course....
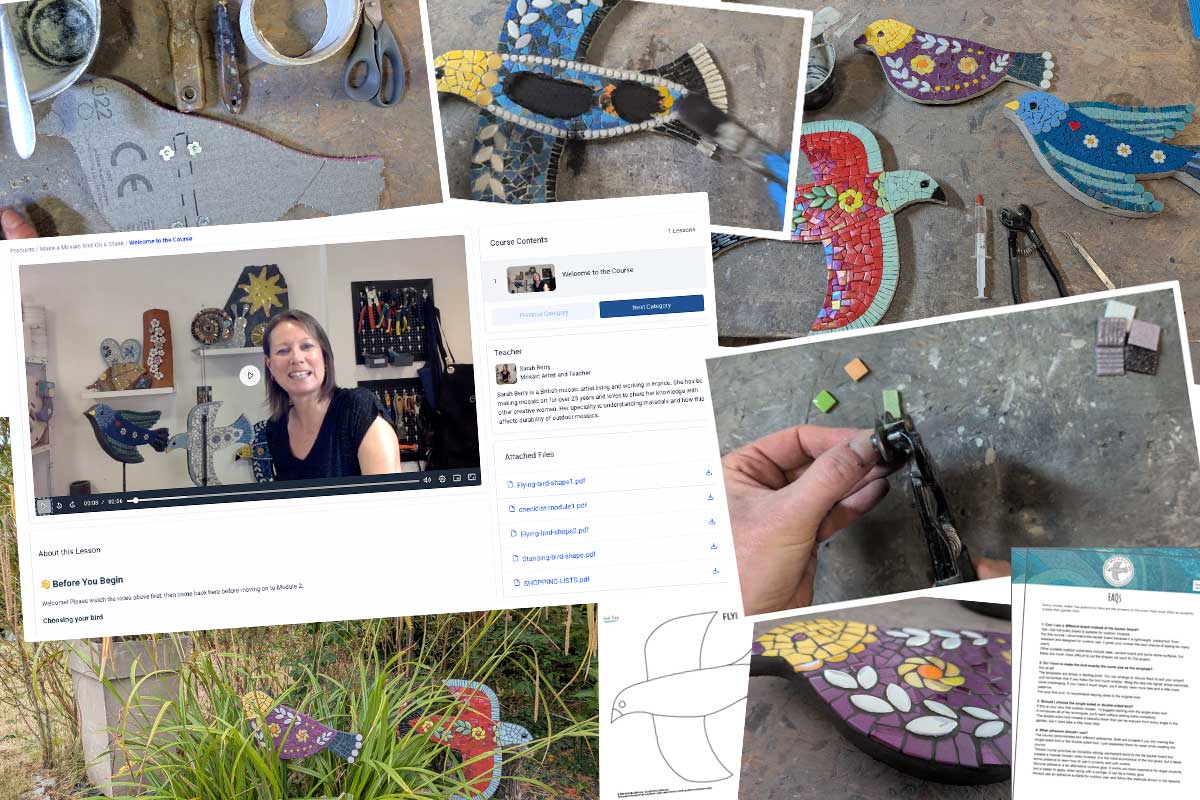
MOSAIC A GARDEN BIRD
Self-study course
Everything you need to create your own durable outdoor
mosaic bird—from choosing your design to placing it proudly in your garden.
Start making your bird for
50€
(£42, 57USD, 80CAD, 82AUD)
Still have questions?
Do I need any experience to take this course?
Not at all.
This course is designed for beginners as well as those with some mosaic experience. You are guided step-by-step, so you can confidently create your own mosaic bird even if you’re completely new.
What is a self-study course?
A self-study course means you can learn in your own time, at your own pace.
All lessons are pre-recorded, so you can:
-Start whenever it suits you
-Pause and replay as often as you like
-Work through the project step-by-step without any pressure
There are no live sessions or deadlines — just clear, guided instruction you can follow whenever you’re ready.
When will I get access to the course?
You will receive immediate access to the course so you’ll be able to start straight away and work through it at your own pace.
What exactly is included in the course?
You’ll receive:
-3 bird designs to choose from
-Printable PDF templates you can resize
-A full materials list
- A suppliers list for worldwide shopping
-Step-by-step pre-recorded video lessons
-Lessons for both single-sided and double-sided garden stakes
Will I be able to make more than one bird?
Yes!
The designs and techniques can be used again and again, so you can create multiple birds — for your garden or as gifts.
How long will I have access to the course?
You’ll have lifetime access, so you can learn at your own pace and revisit the lessons whenever you like.
How much will the materials cost?
The cost of materials will vary depending on what you already have and the type of finishes you choose.
Many students like to use a mix of new and leftover materials, so you can keep costs quite flexible. I provide a full materials list inside the course, so you can plan and budget before you begin.
What tools do I need to complete the project?
Two main tools are required for completing this project:
-A pair of wheeled tile cutters for glass tile
-A jigsaw with carbide-tipped blade
Other tools are useful, but are not necessary for completion of the project.
These details are included inside the course, so you can get set up with confidence before you start.